MSTPastimes: COVID Meat Curing
Samantha Beik (G3)
Making raw meat edible and reducing its ability to make us sick comprises two goals. The first is to remove toxic bacteria; the second is to remove as much water as you can. Actually, the second is pretty much an extension of the first, because you’re reducing water activity below the minimum level at which many toxic bacteria can survive. So really there’s only one goal: no bacteria.
There’s a really easy way to make this happen, which is, to cook the meat. Of course, with all this free time on our hands, this is much too simple. So instead, we (Sam and Mike) decided to try to remove bacteria from meat via the slowest means possible: curing salami.
There are two main components of making salami: fermentation and curing. Fermentation is actively removing toxic bacteria by encouraging the growth of nontoxic/benign bacteria in meat. This can be accomplished with a starter culture (yes, like that lower stakes popular pandemic hobby, making sourdough) and anywhere you can hang the salami while keeping them moist.
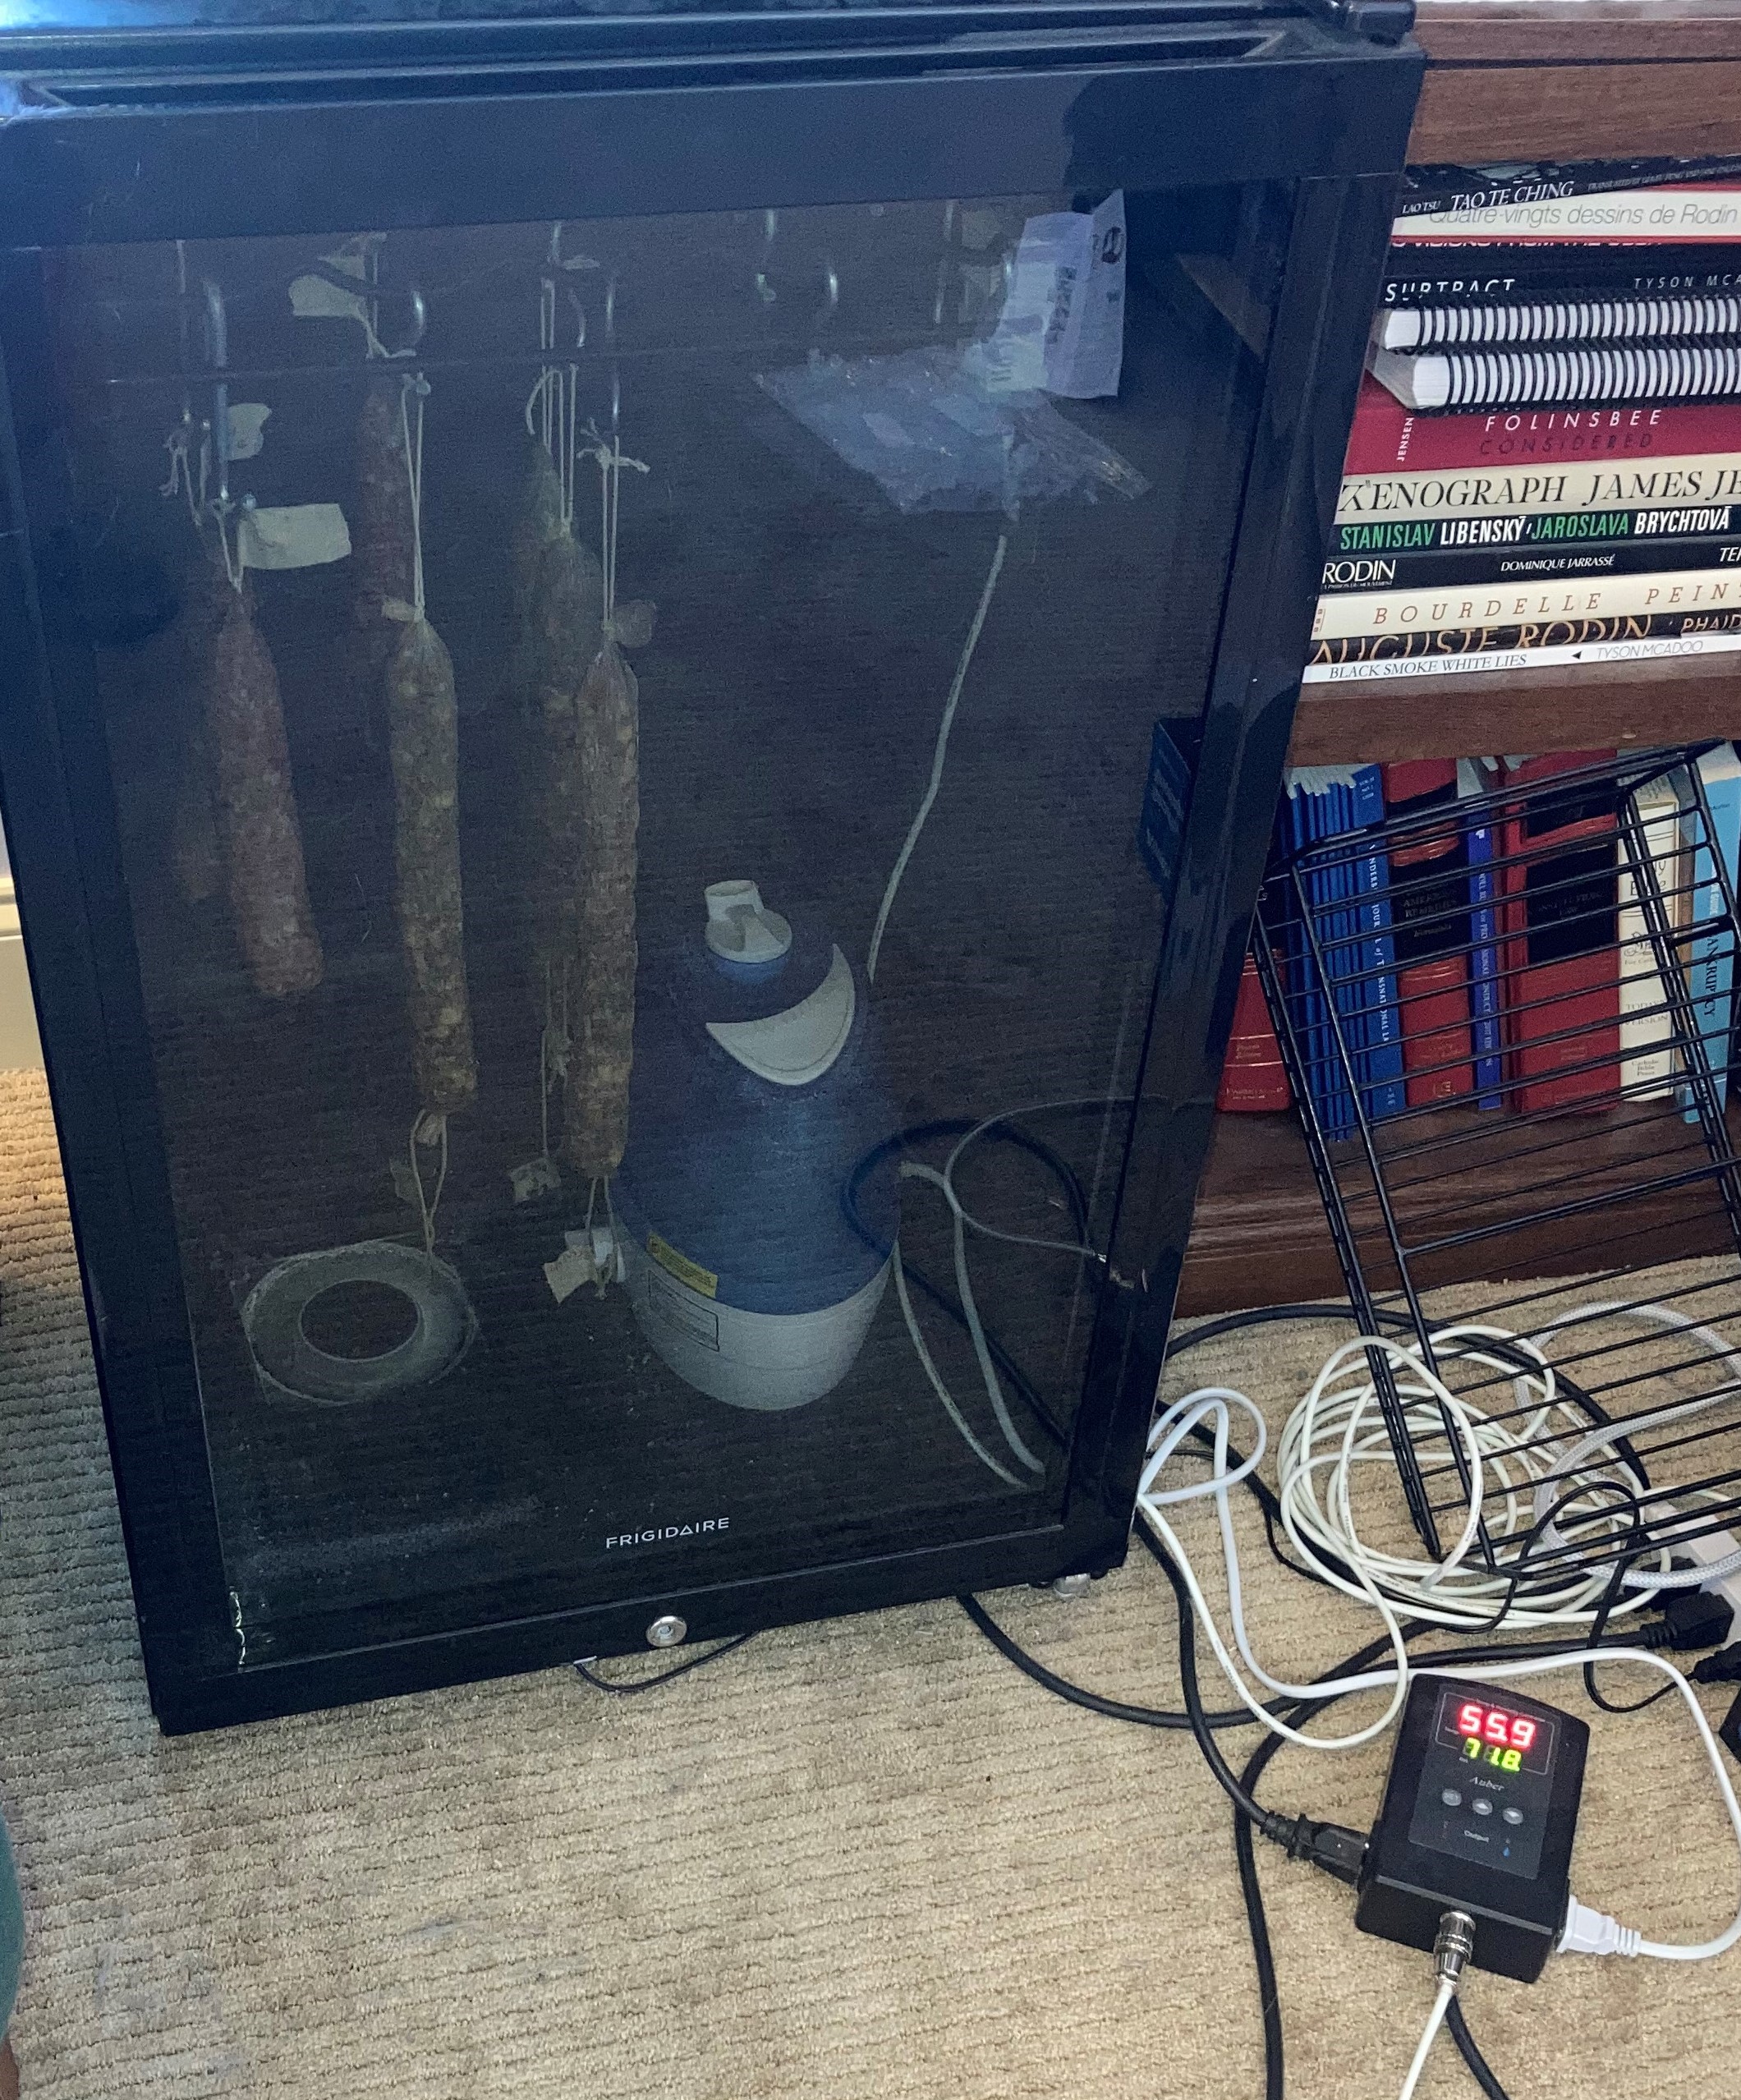
Curing is the process of removing as much water content from the meat that you can. In southern Europe, the climate and the availability of caves provides lots of options for hanging up salami and allowing the water to slowly travel out of it. We do not have a cave, and we live in Nashville, so we have to get a bit more creative. Enter our pretend cave: the curing fridge.
The internet is full of suggestions for setting up your own curing fridge (since an actual curing cabinet costs thousands of dollars). Apparently, you can buy any old fridge. We bought a small wine fridge on Craigslist. Most fridges are too cold for salami curing, including this wine fridge, so we needed a means of controlling the temperature. Humidity control is also necessary, so we bought a humidifier as well.
We bought a temperature and humidity controller to keep the temperature and humidity at Italian cave-like levels. The fridge and the humidifier plug into the controller (hence it regulates both temperature and humidity in the fridge by turning them on and off based on the temperature and humidity in the fridge).
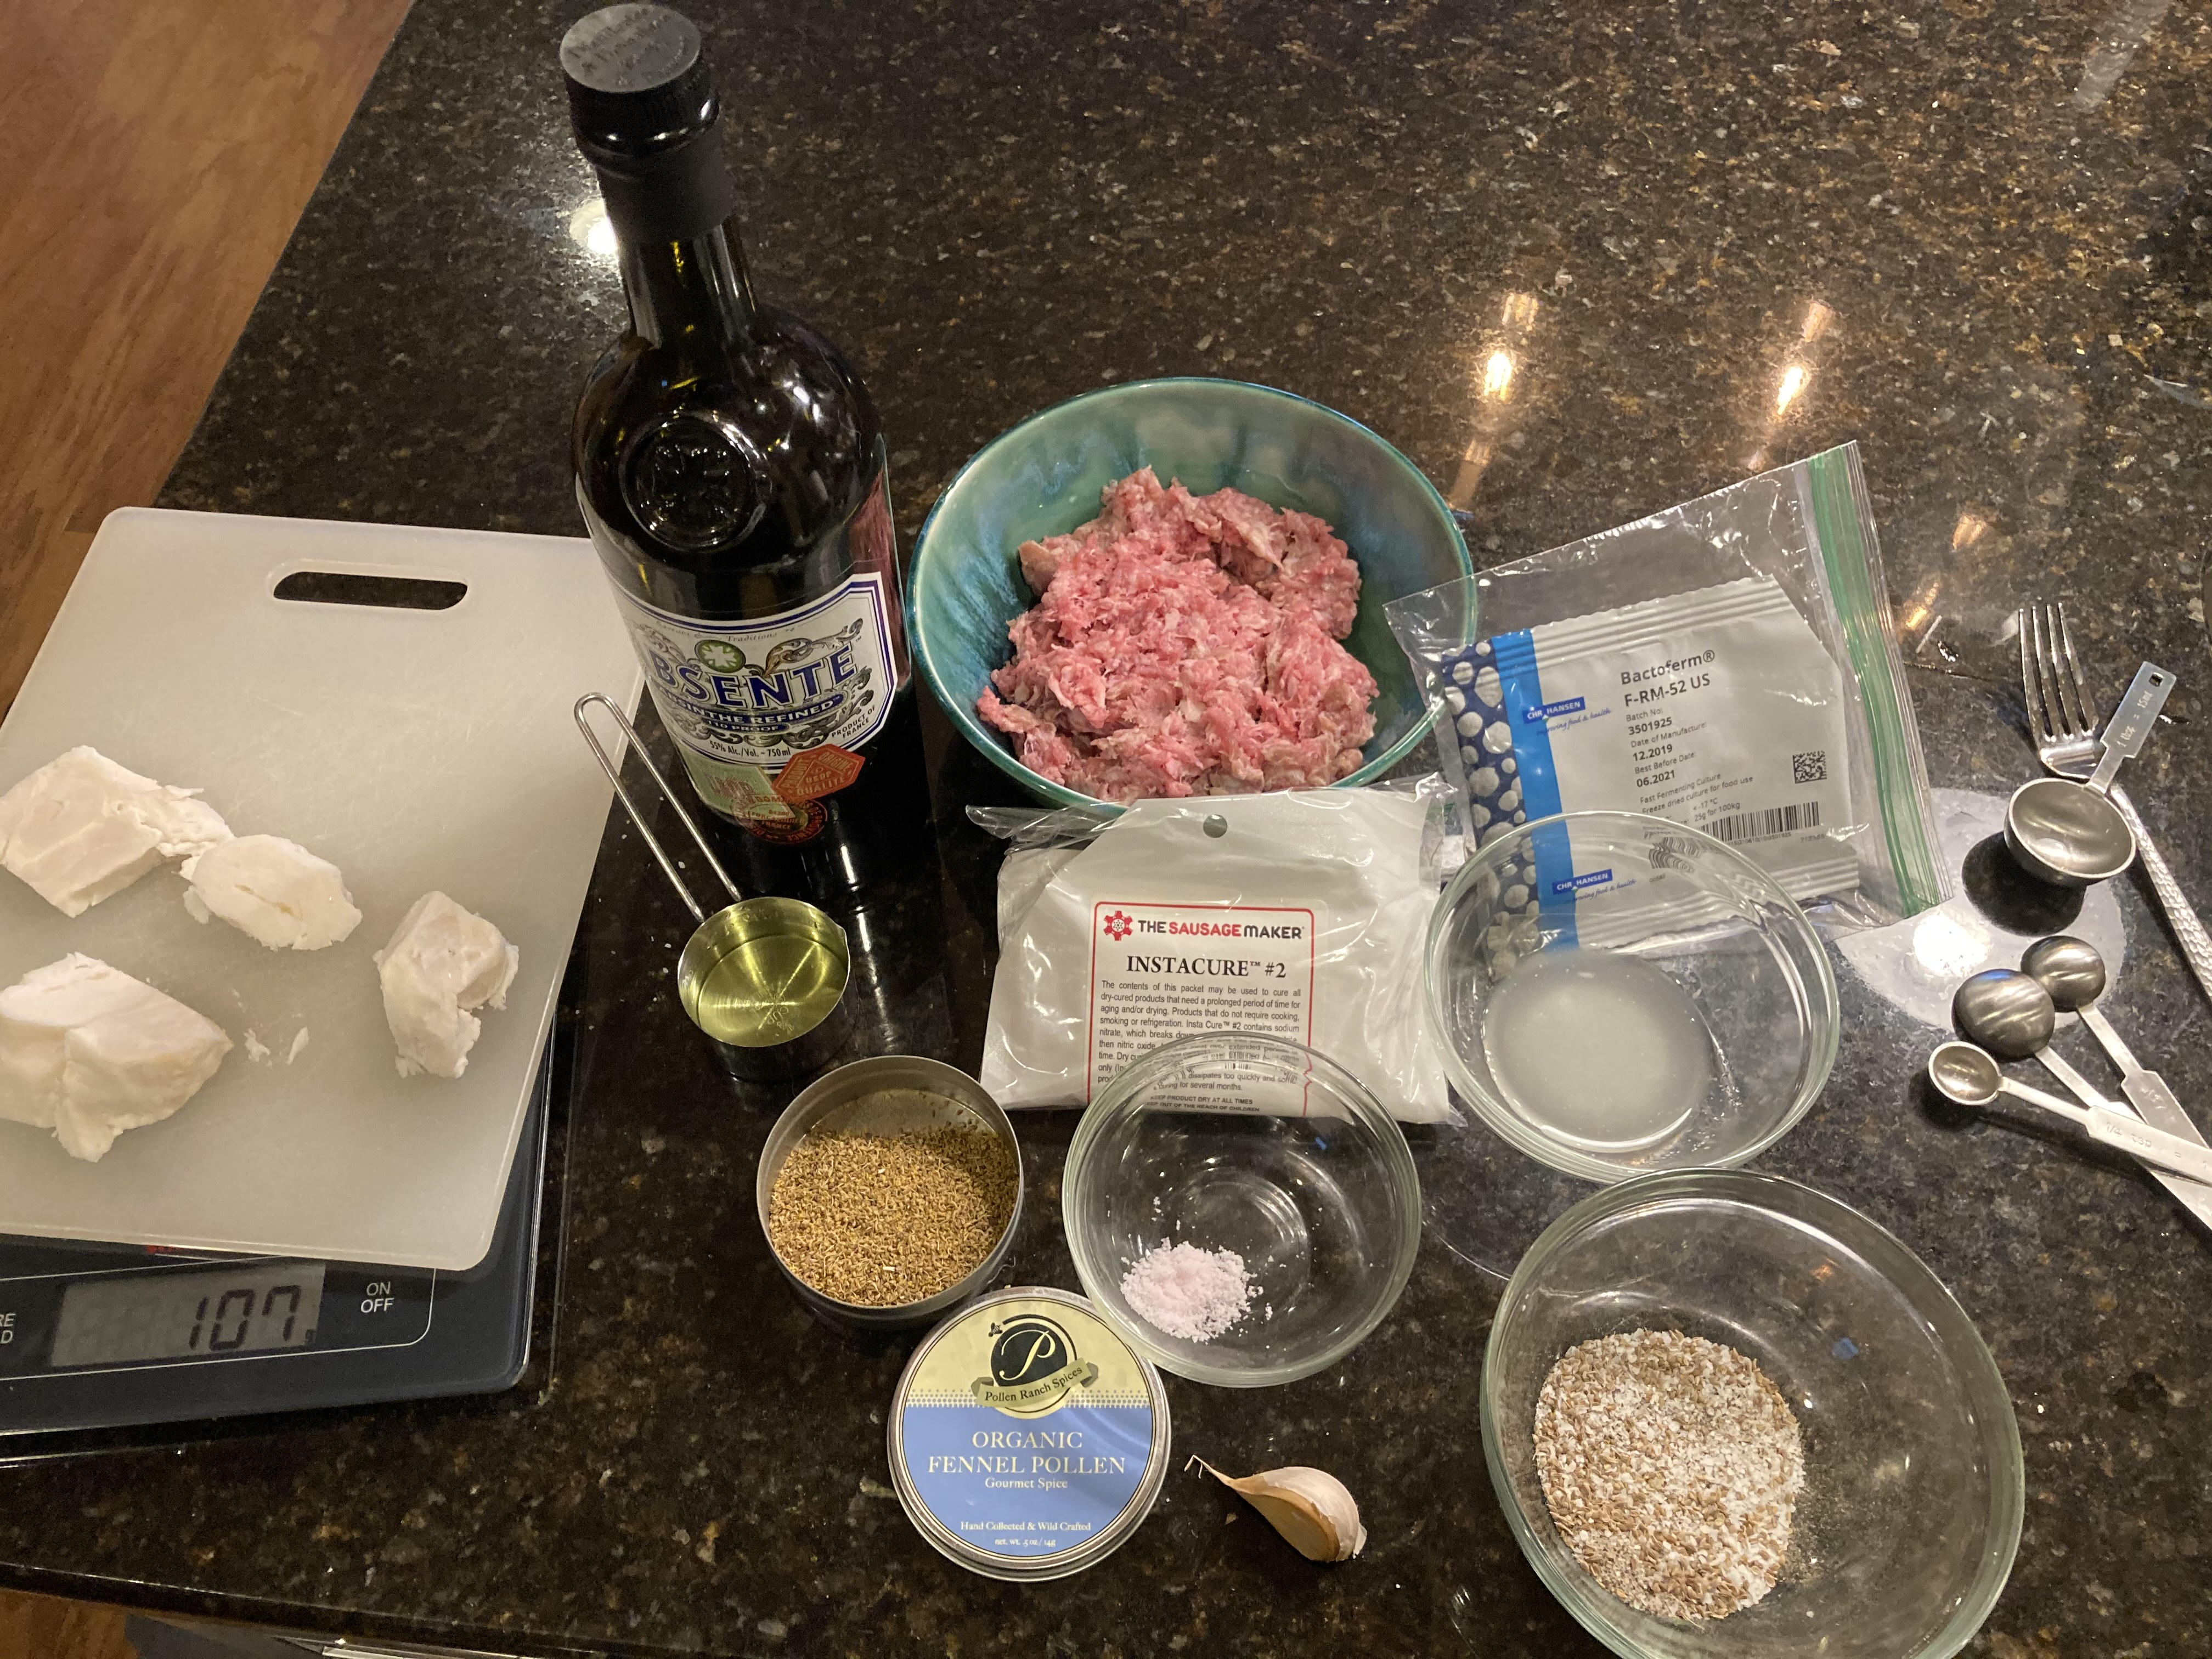
Finally we could actually put meat in our pretend Italian cave. There are many recipes on the internet for making salami, all of them some combination of meat, fat, salt, and spices – plus the starter culture and special curing salt, which has a high nitric oxide content. Pictured (#1) is the most recent recipe we attempted. (We used already-ground meat, and finely diced fat, rather than grinding our own meat. It seemed easier that way.)
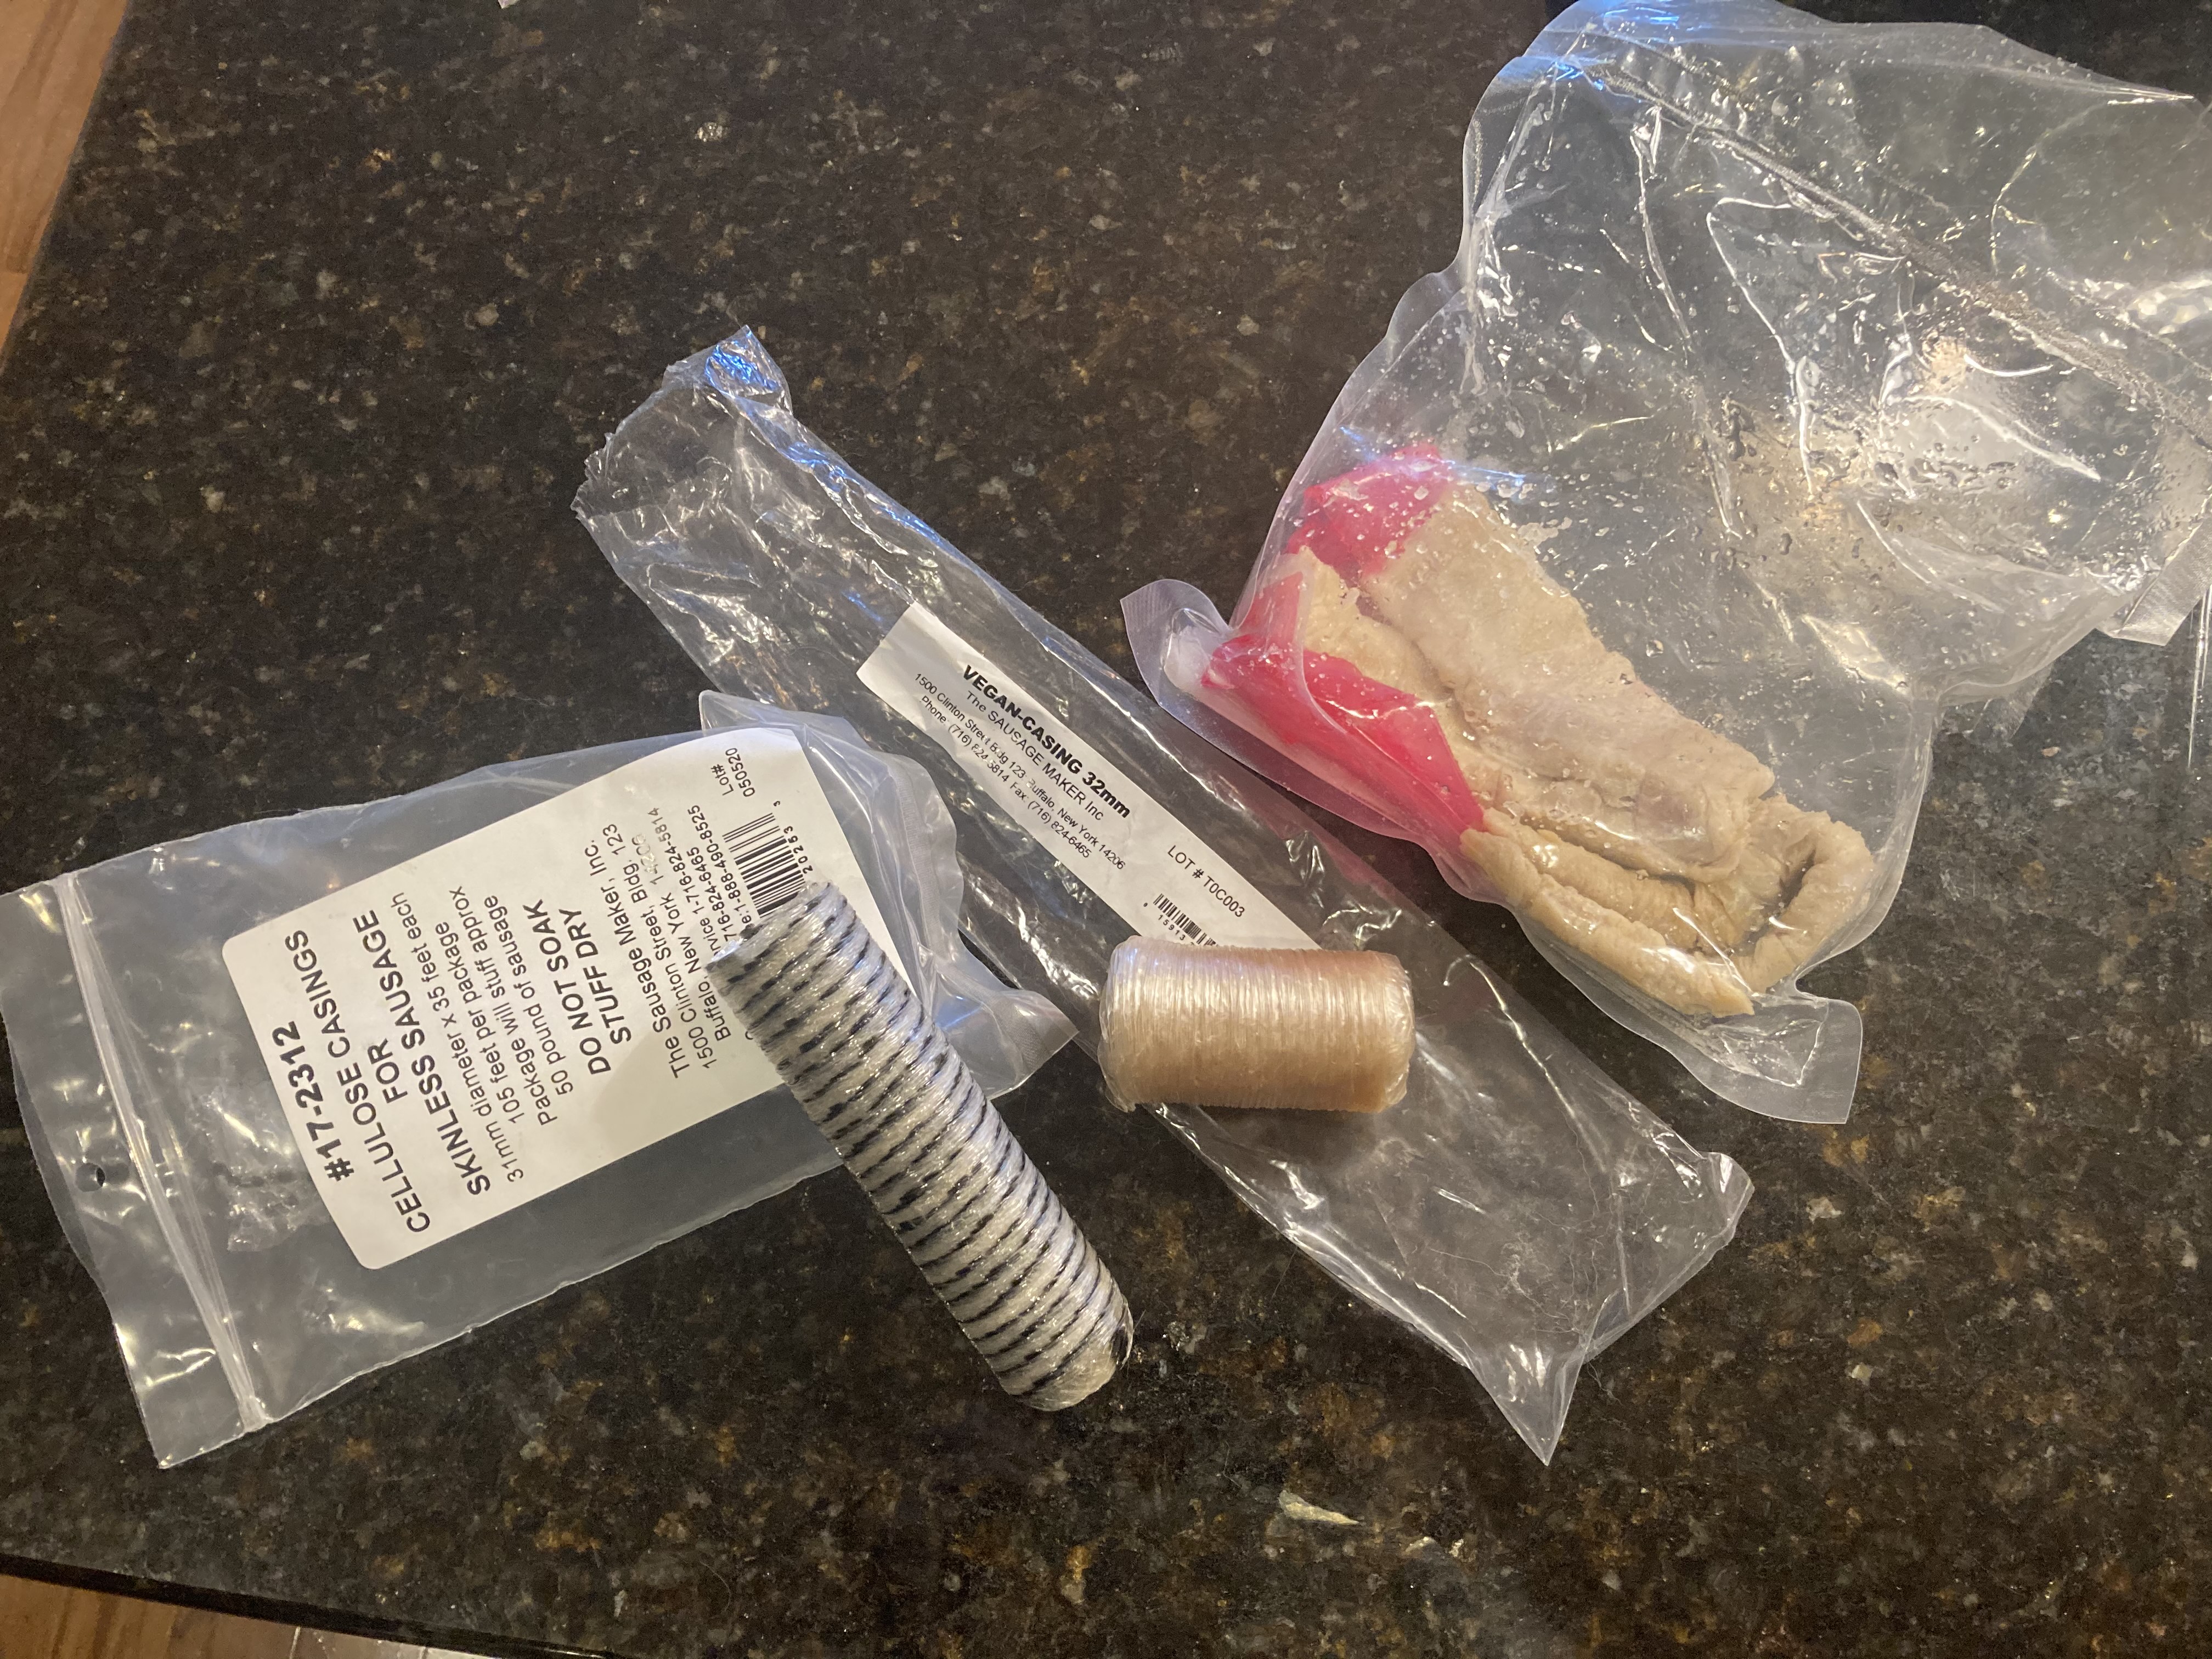
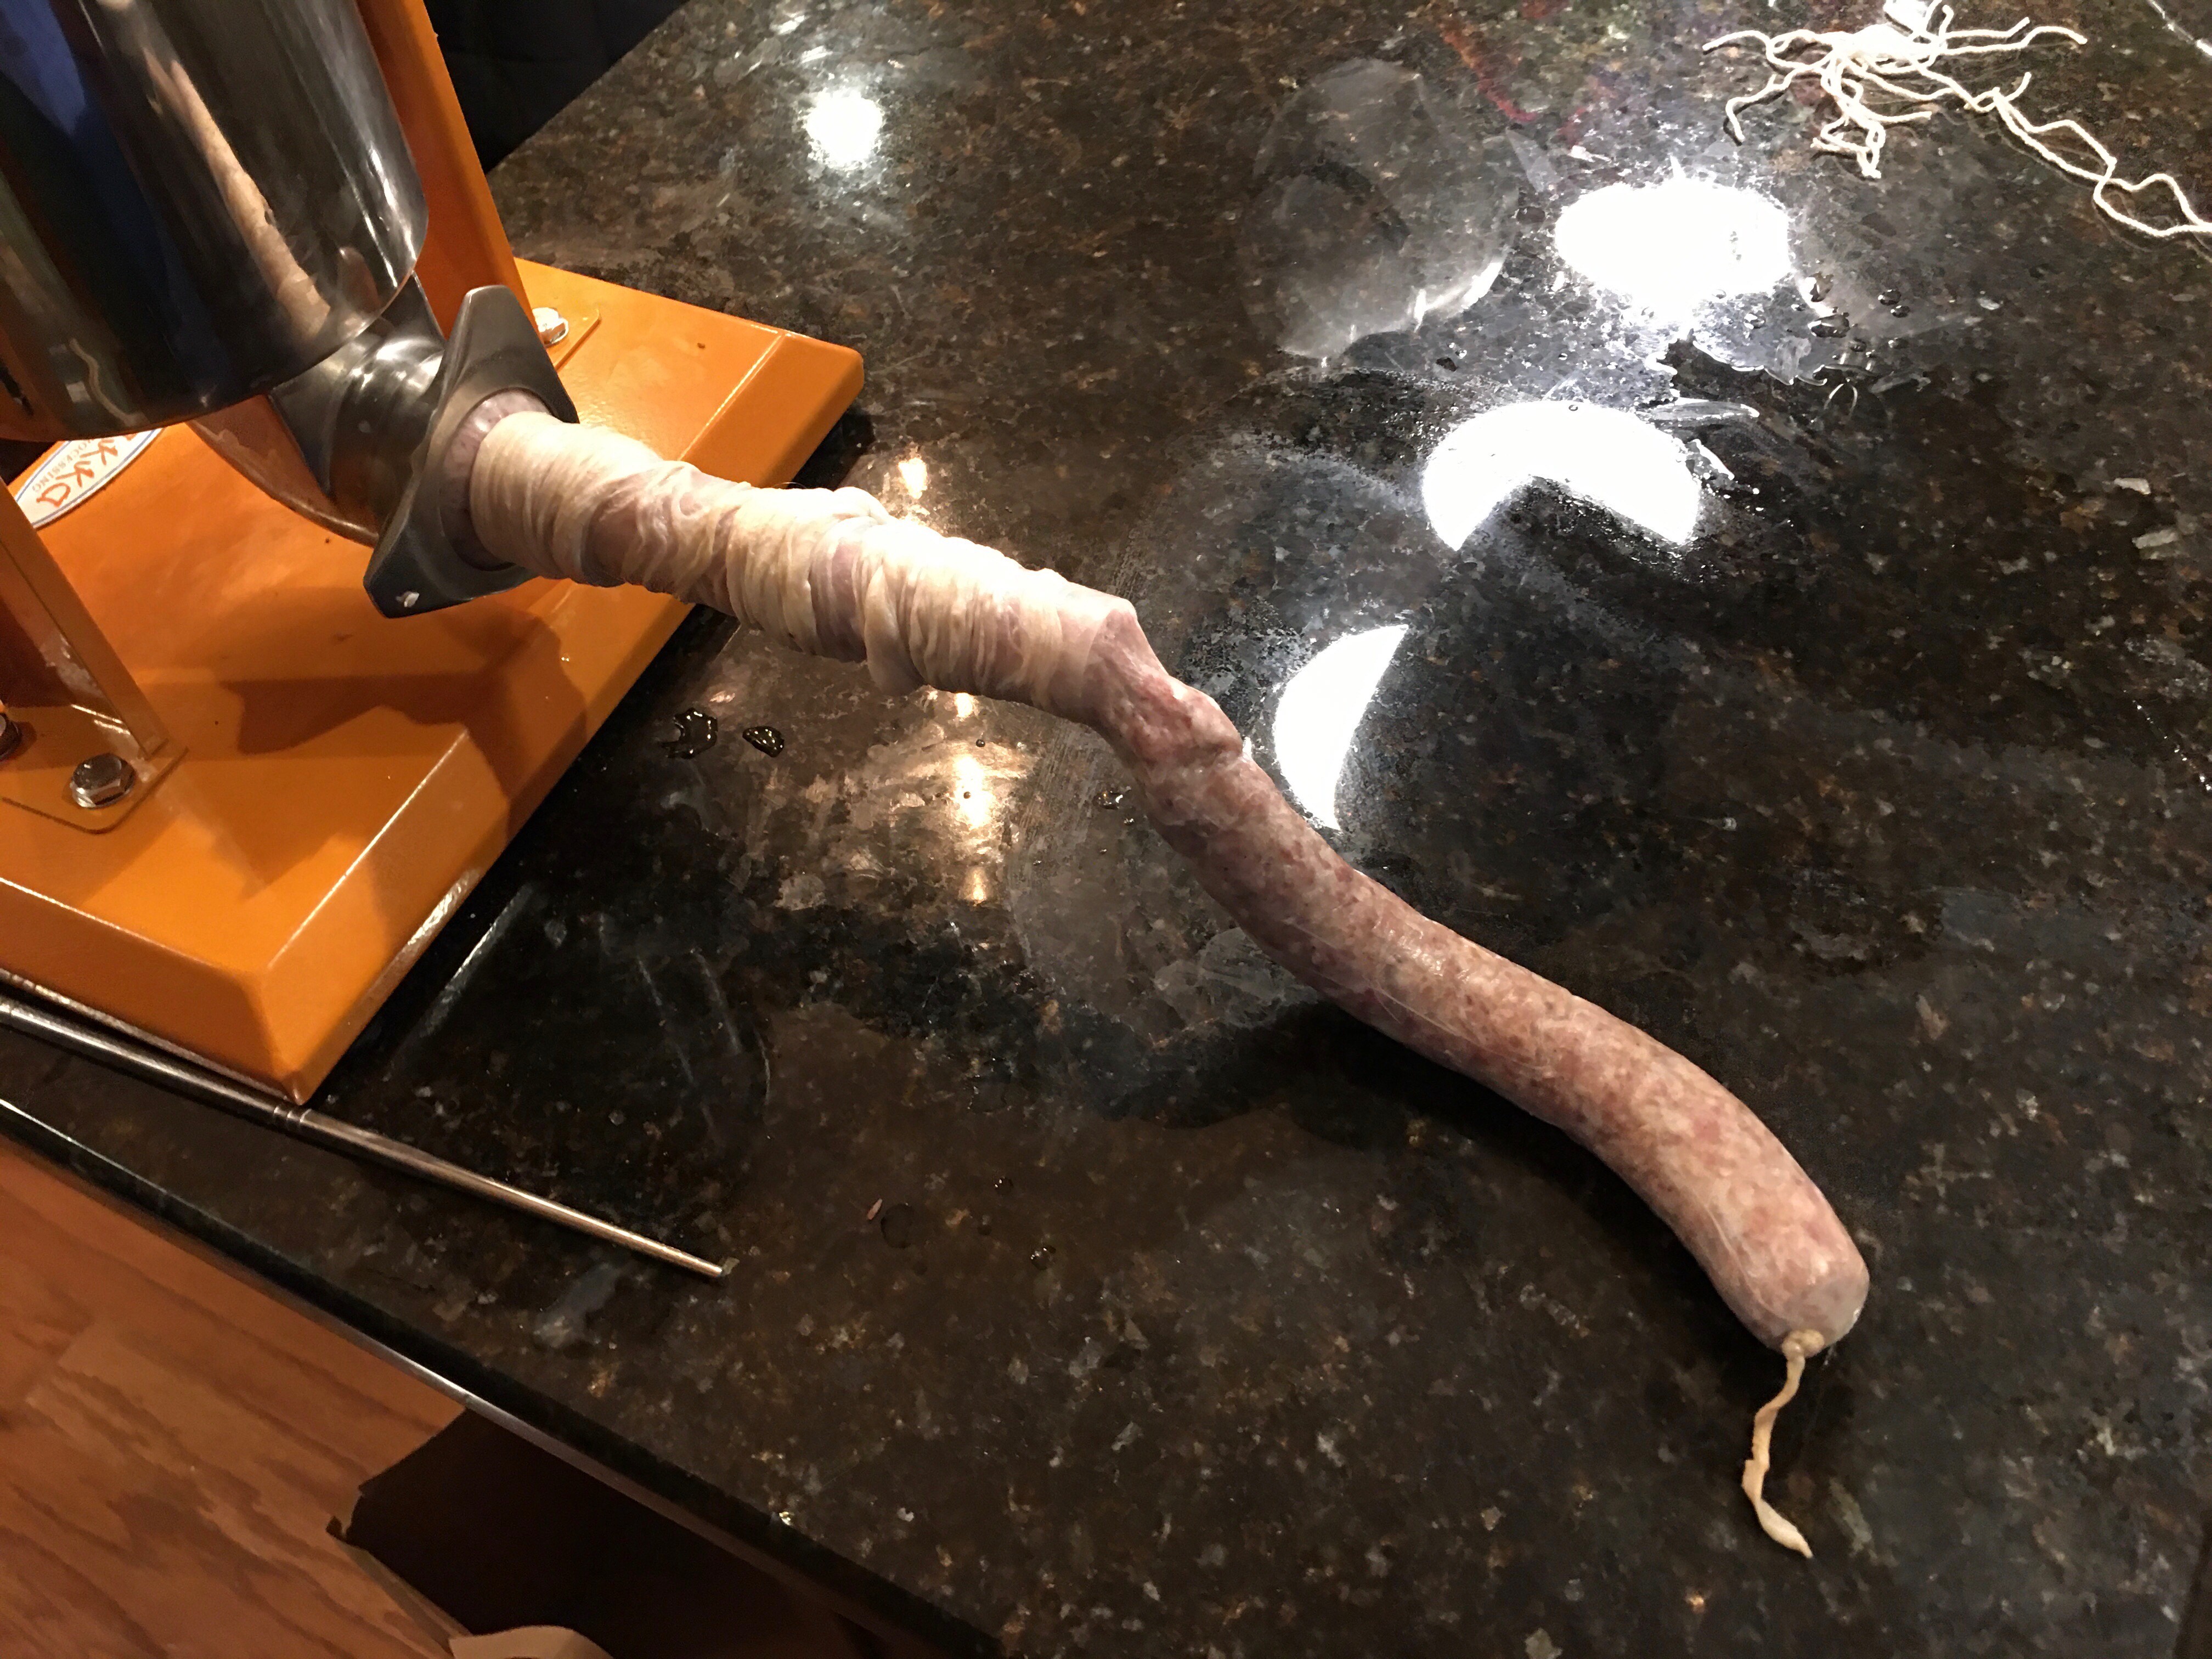
After mixing all of the ingredients together, they needed to be packed into the salami shape. For this, animal intestines come in handy. We have also tried collagen casings, both edible and non-edible (you peel them off when ready to eat). Pictured (#2) are the three types of casings that we’ve tried. We did end up buying a sausage stuffer (#pandemichobby), which is a metal tube with a crank, so that you can direct the meat into the casings. Pictured (#3) is a salami in the process of being stuffed into the casing.
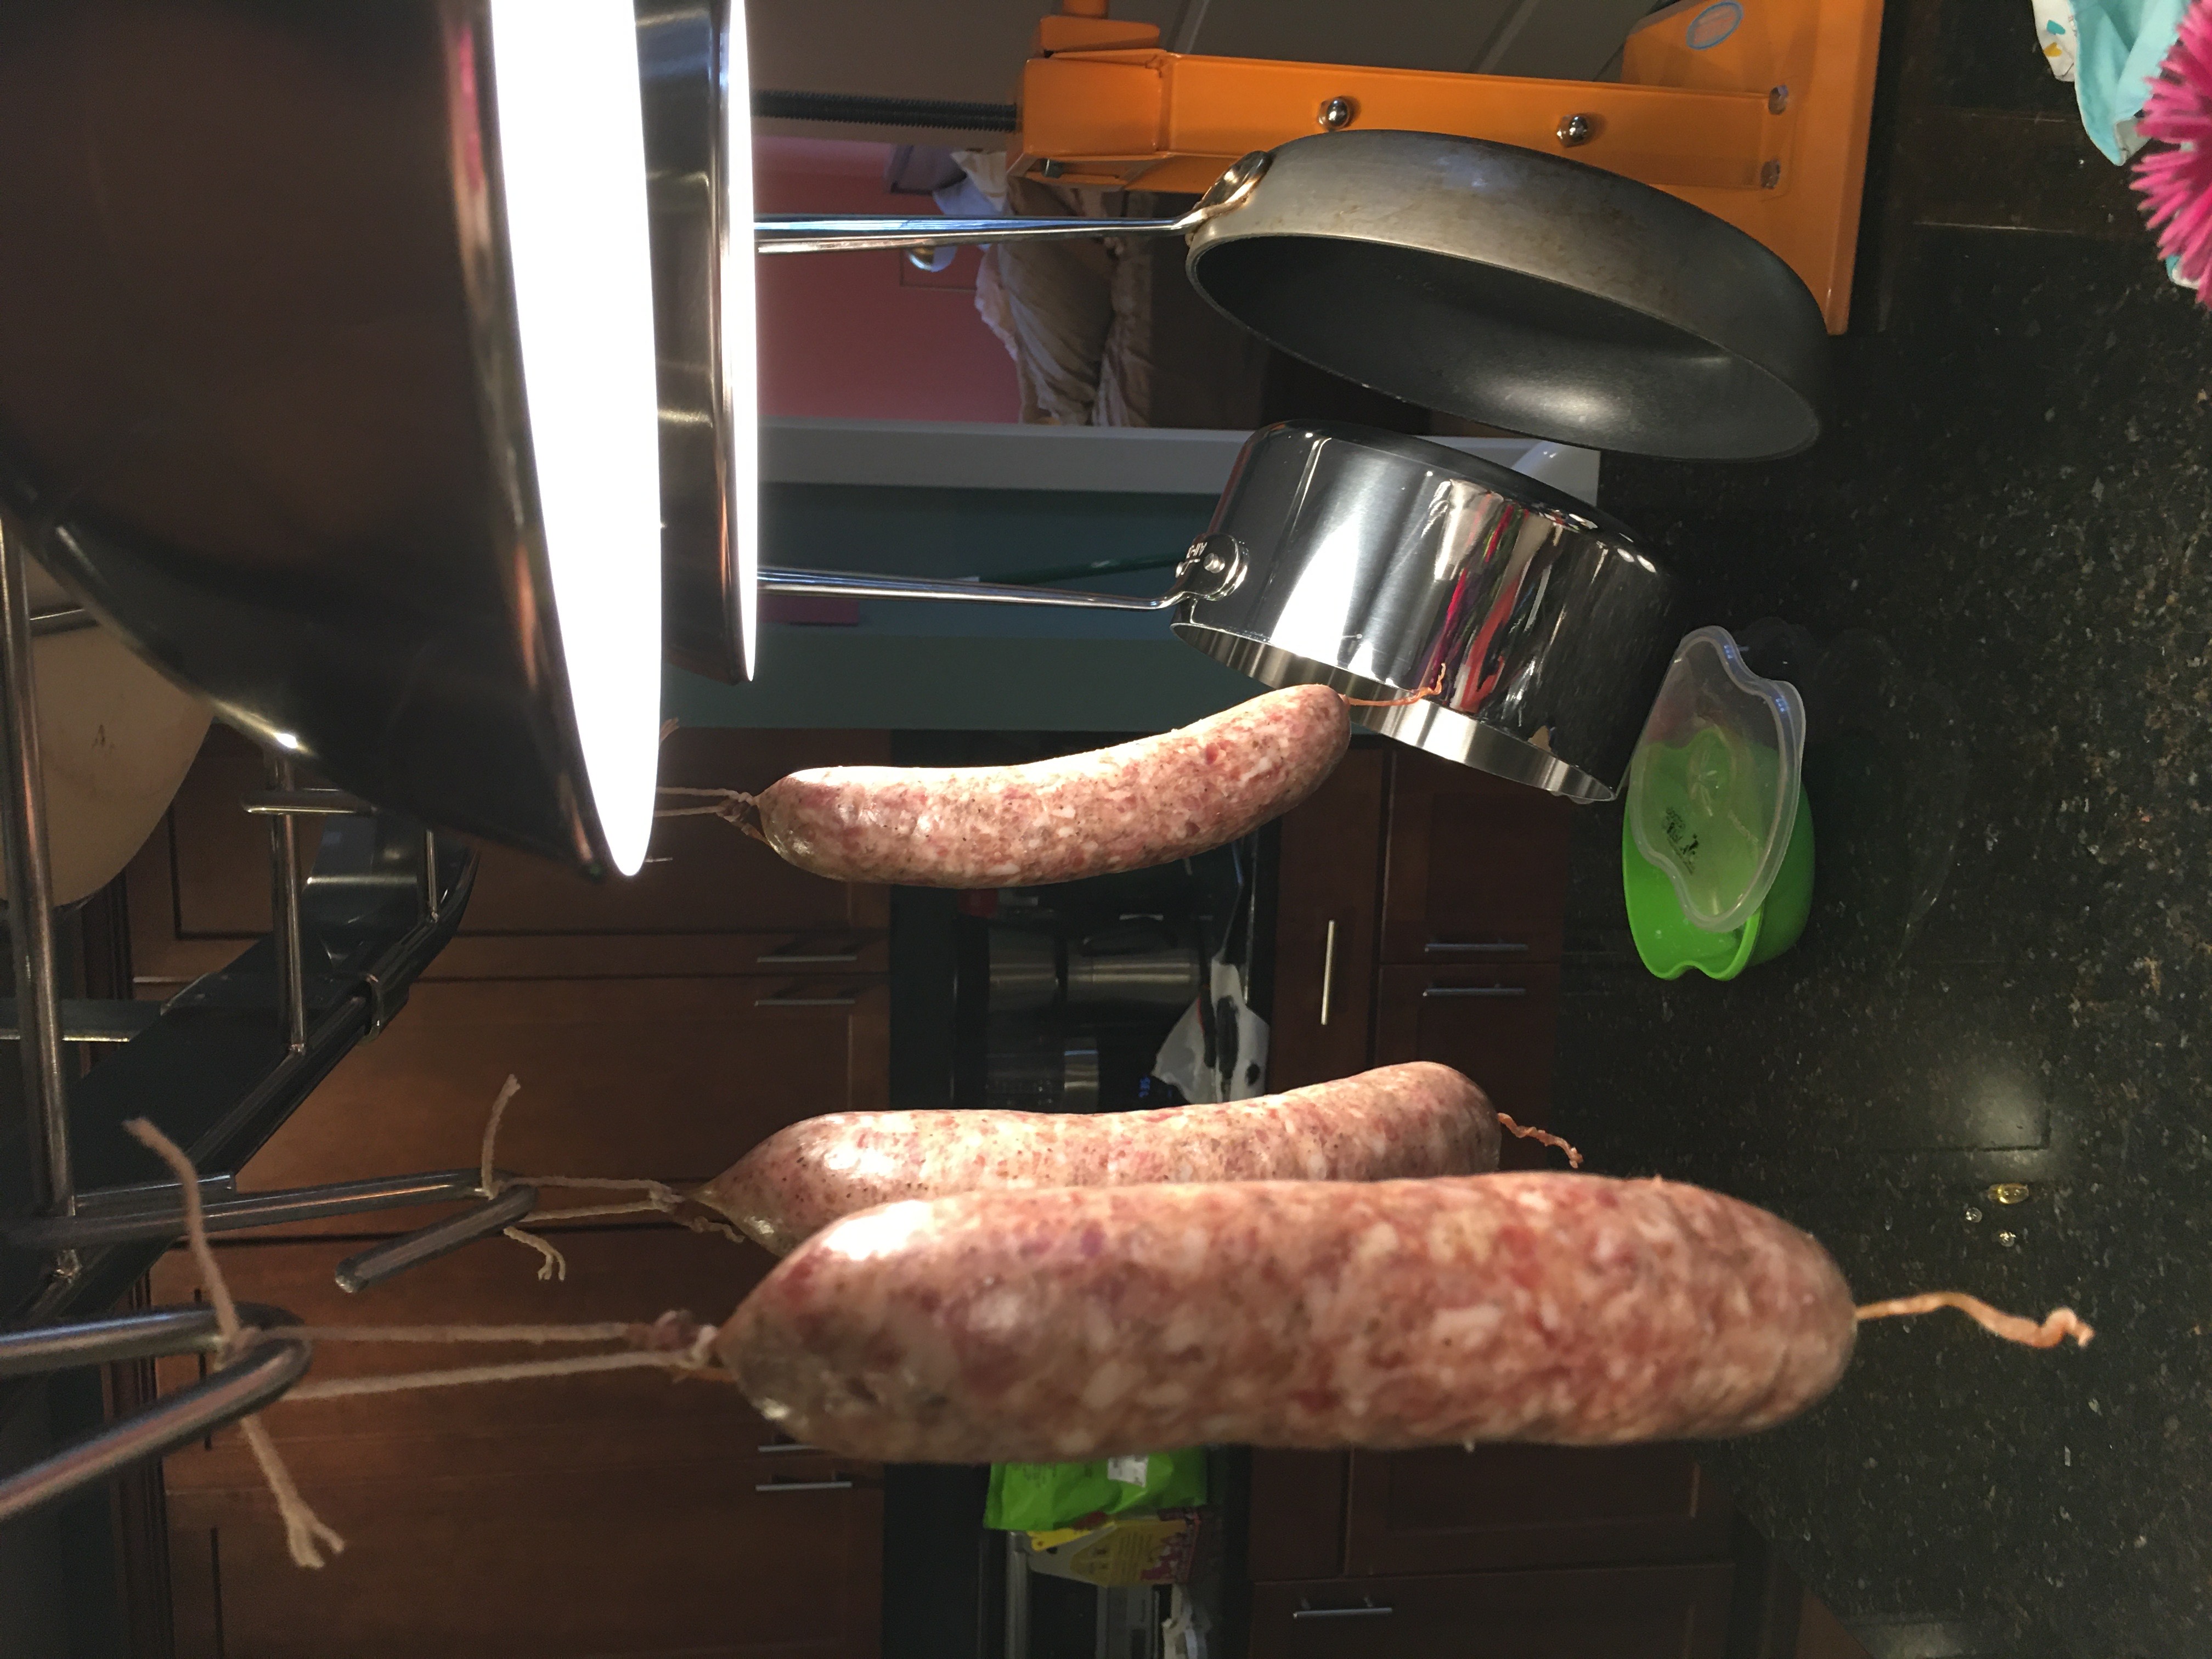
After this, you ferment the salamis by hanging them between 70-80 degrees F for 1-2 days, spraying them with water every few hours, pictured here in our kitchen (#4). Then, they go into the curing chamber (also pictured (#5), with all the accompanying gadgets). We kept the curing fridge between 50 and 60 degrees F and around 70% humidity. From there, the internet assures, it is very simple and you just wait until the salamis lose 30% of their weight.
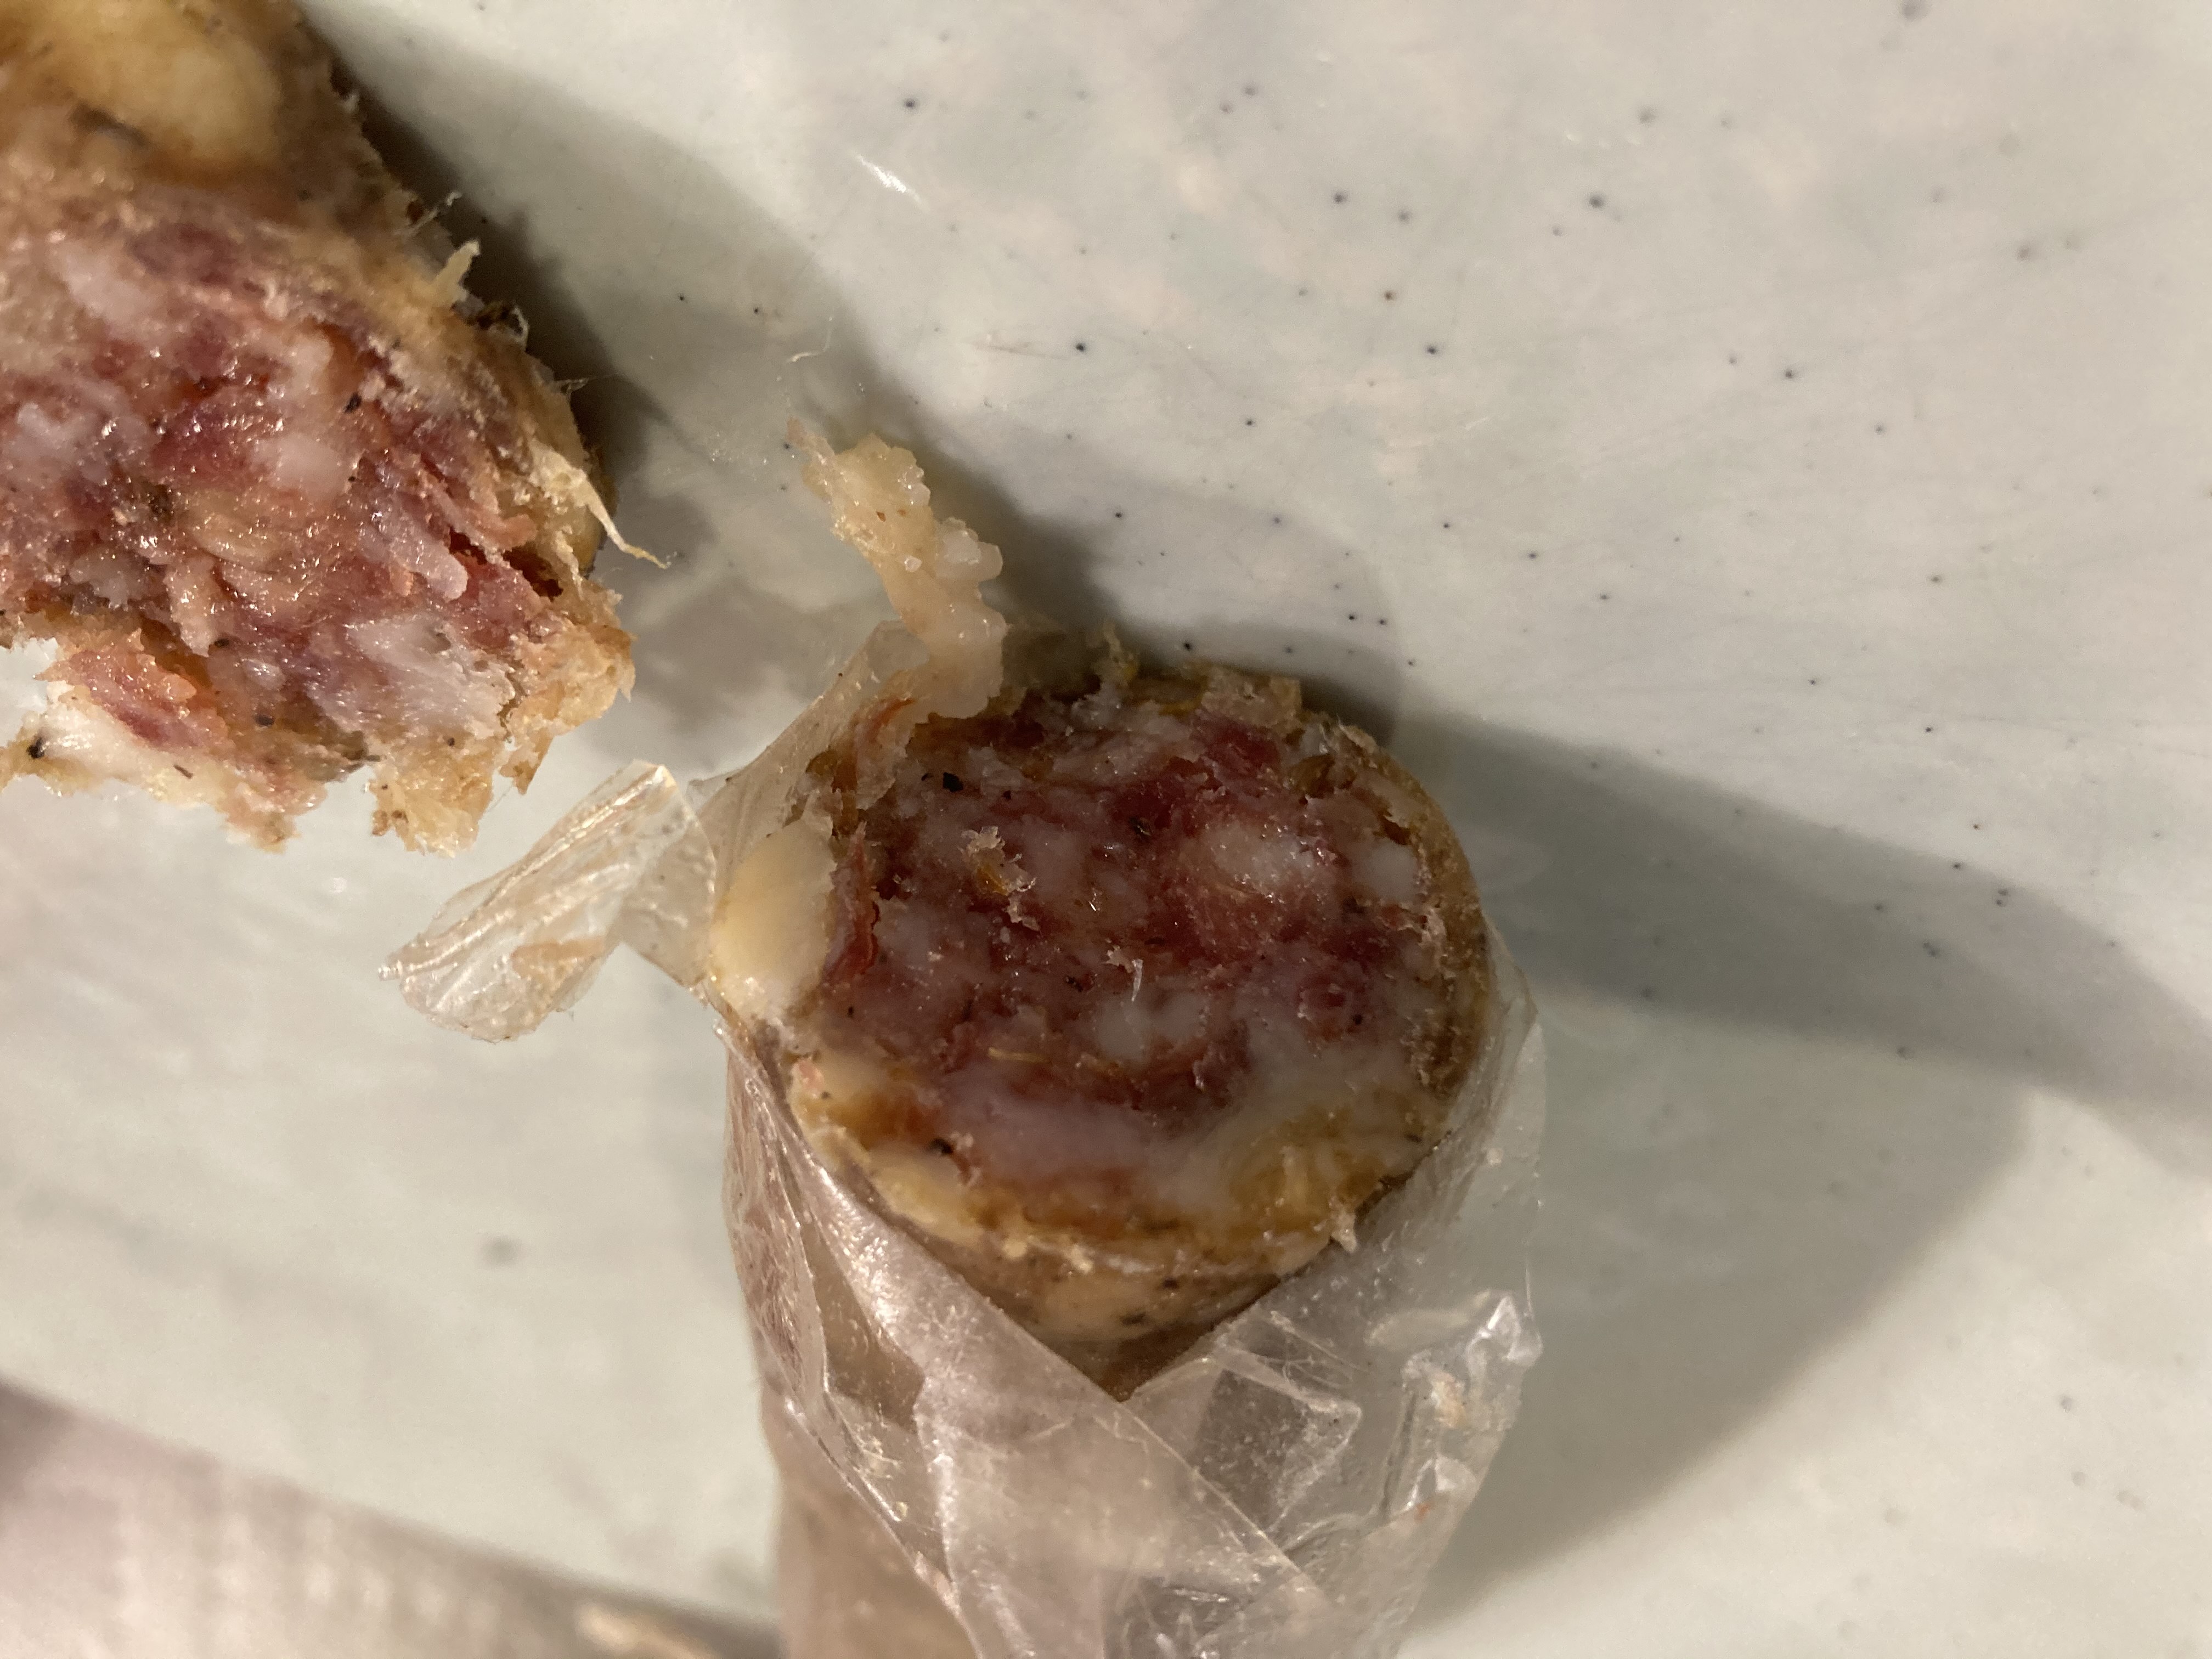
We started this process back in July, and unfortunately have not yet succeeded in making edible salami. The first batch, while it seemed to have appropriately dried by a week or so ago (pictured, #6), did not taste very good. Our second and third batches remain in the fridge. Hopefully someday, the salami is ready to leave its chamber and enter the world. But, like the rest of us these days, for now it is still necessary to wait inside.
Sam, we are looking forward to a MSTP newsletter update when you get your salami just right!